DIY Framing, The Professional Way
Welcome to DIY framing done the right way! If you have read my articles The Importance of Framing and The Anatomy of a Frame you will know there is a lot more than meets the eye when looking at a frame. In this article, I am going to walk you through how to frame an image assuming you have the 5 core elements of a frame outlined in The Anatomy of a Frame (which I highly recommend you read before this). As a recap, these are the moulding (frame), the glass, the mat board, the backing and the hanger. I’m going to lay out the steps of framing, explain why a step is done the way it is and throw in a few photos for reference. If you have any questions at any point, send me an email and I’ll get back to you ASAP. Are you ready? Let’s go!
First up let’s go over what you’re going to need.
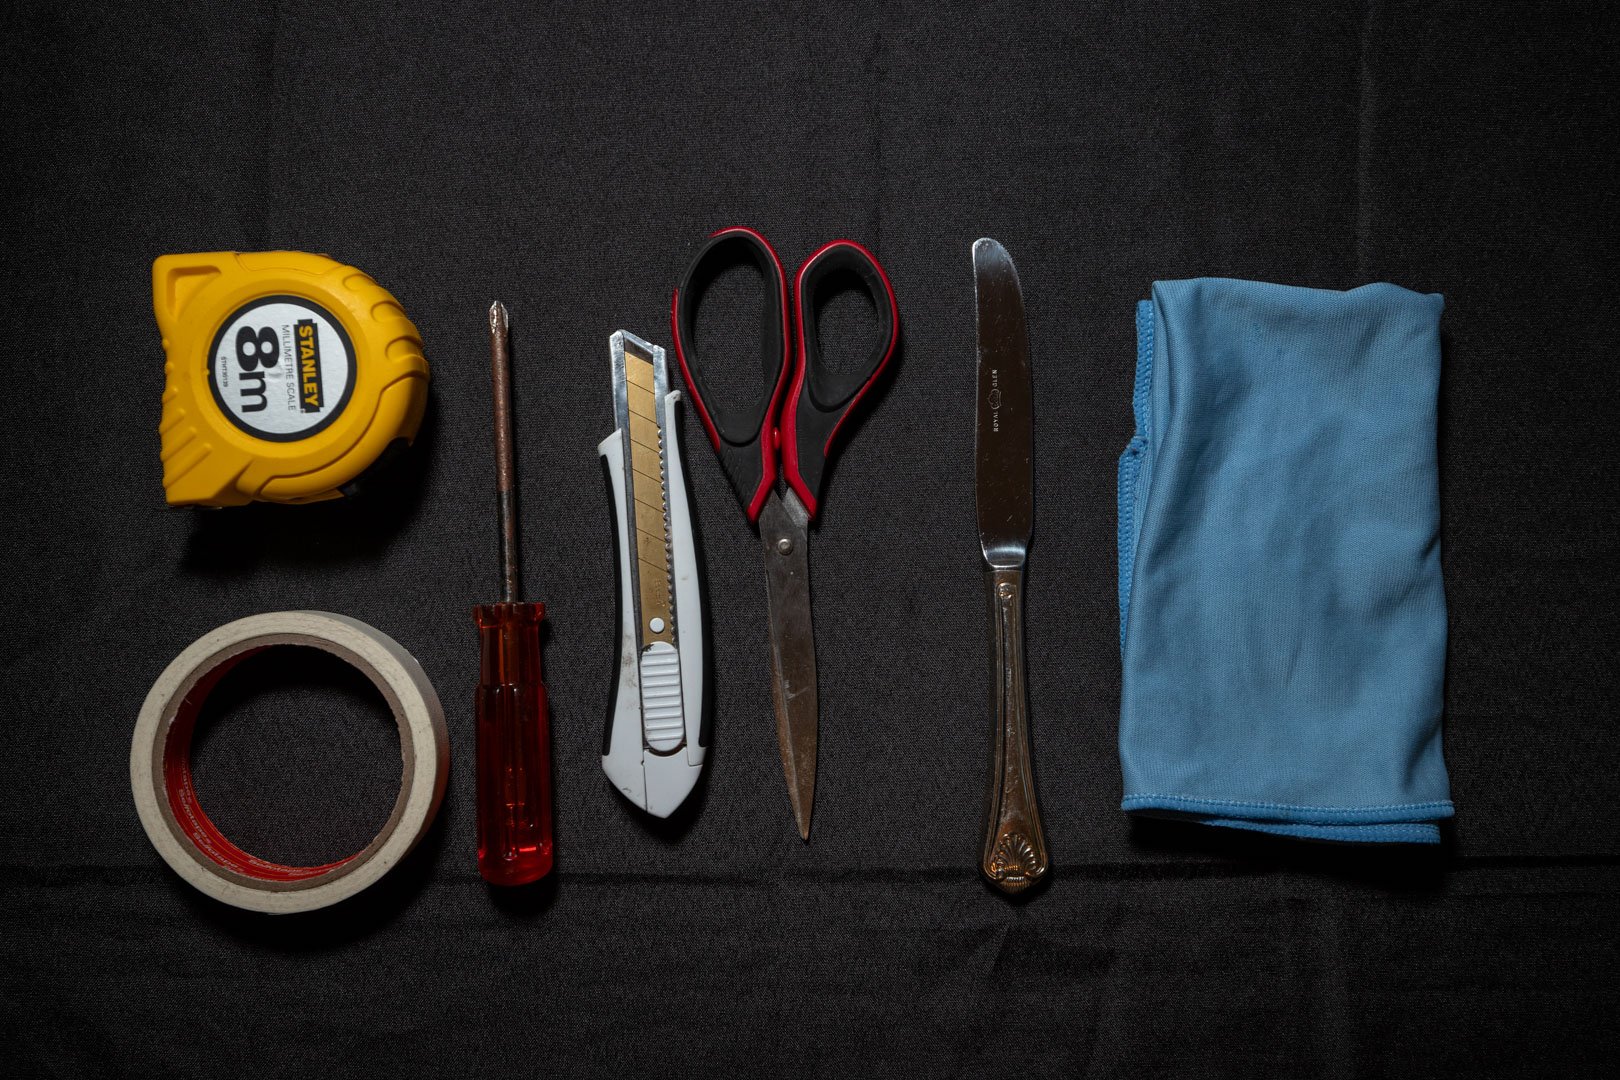
A Butter Knife – grab one from the kitchen, one of the old out-of-place ones you got lying around.
A Glasses Cloth – to wipe up your grubby fingerprints
Framer's Tape – a special tape that’s sticky enough for framing but not to ruin your work (use whatever tape, preferably not masking tape, or sticky duct tape)
Double Sided Tape
Screwdriver – most likely a Phillips head, but consult your wire package
A Blower – this isn’t necessary, but it will help get the dust off.
Some Craft Paper – This is the backing
Stanely Knife
A Ruler
Patience – This can be tedious, even for me and I’ve framed a bunch of things a bunch of times. Be patient, get it right the first time or else you’ll be looking at that one dust speck every day the frame is on your wall!
All the tools required for framing your artwork.
The method
Step 1:
Open your frame packaging! Is it all wrapped up? Maybe it has cardboard corners on it? Take all that off so there’s just an empty frame in front of you
Step 2:
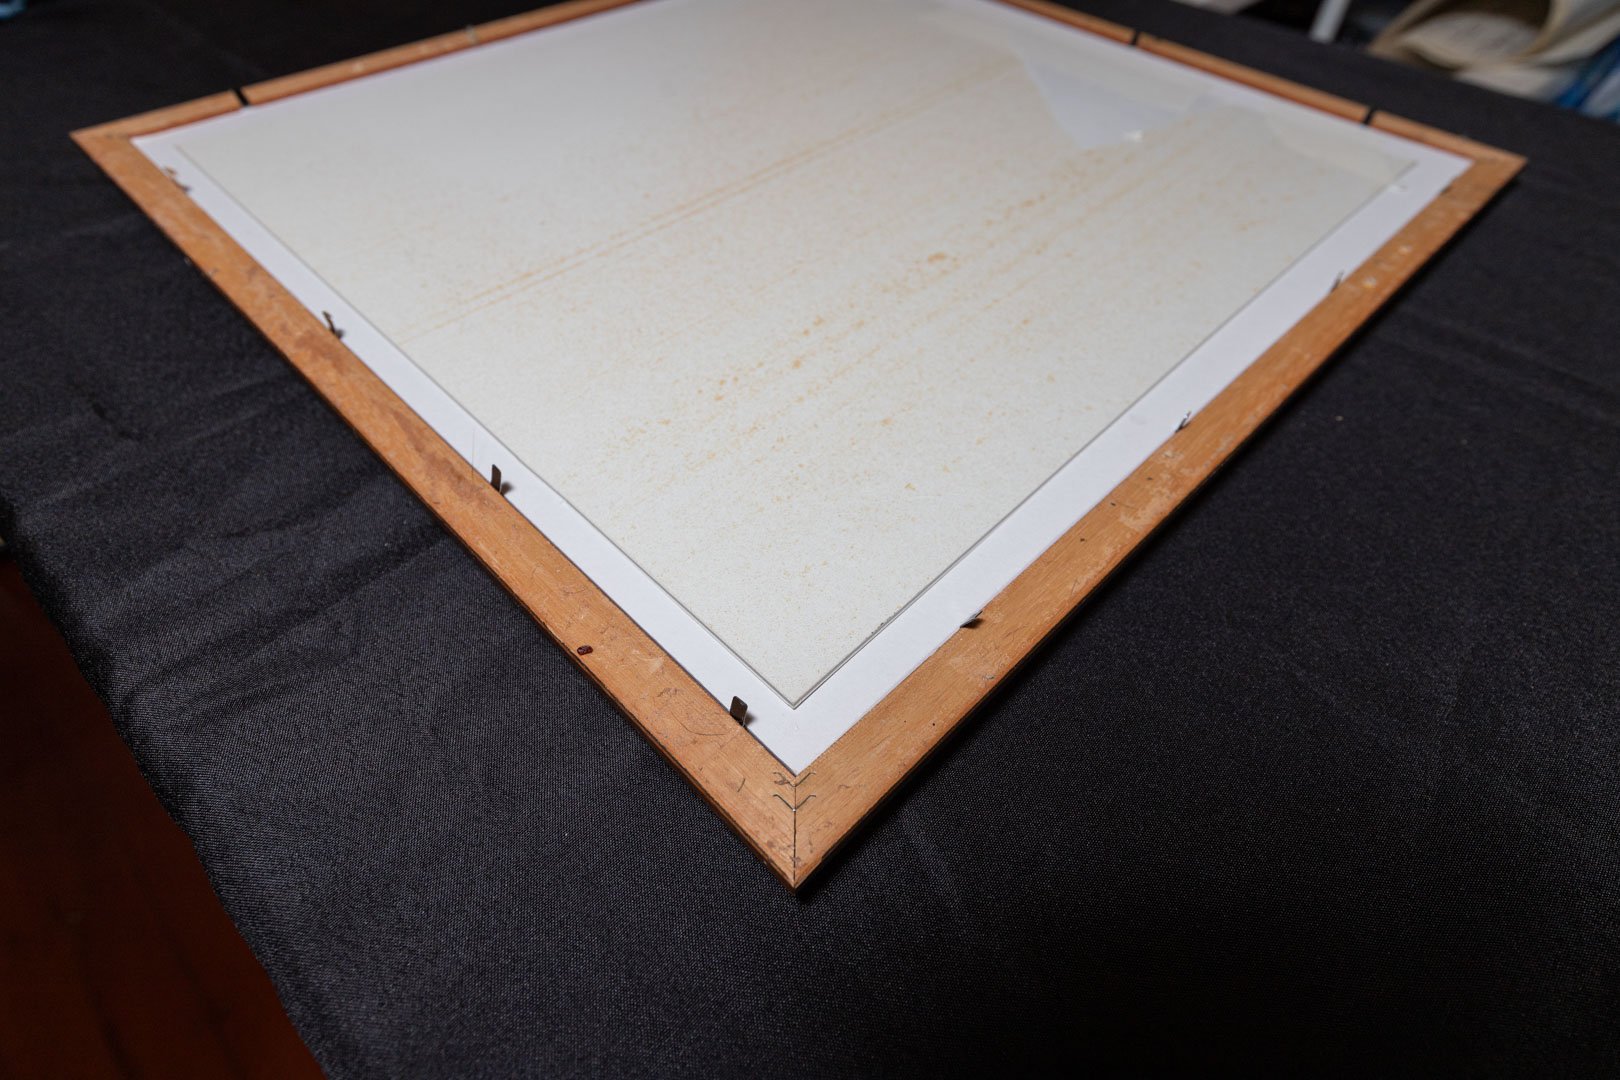
Flip your frame so it is facing the glass down.
A frame facing down with flip tabs visible
Step 3:
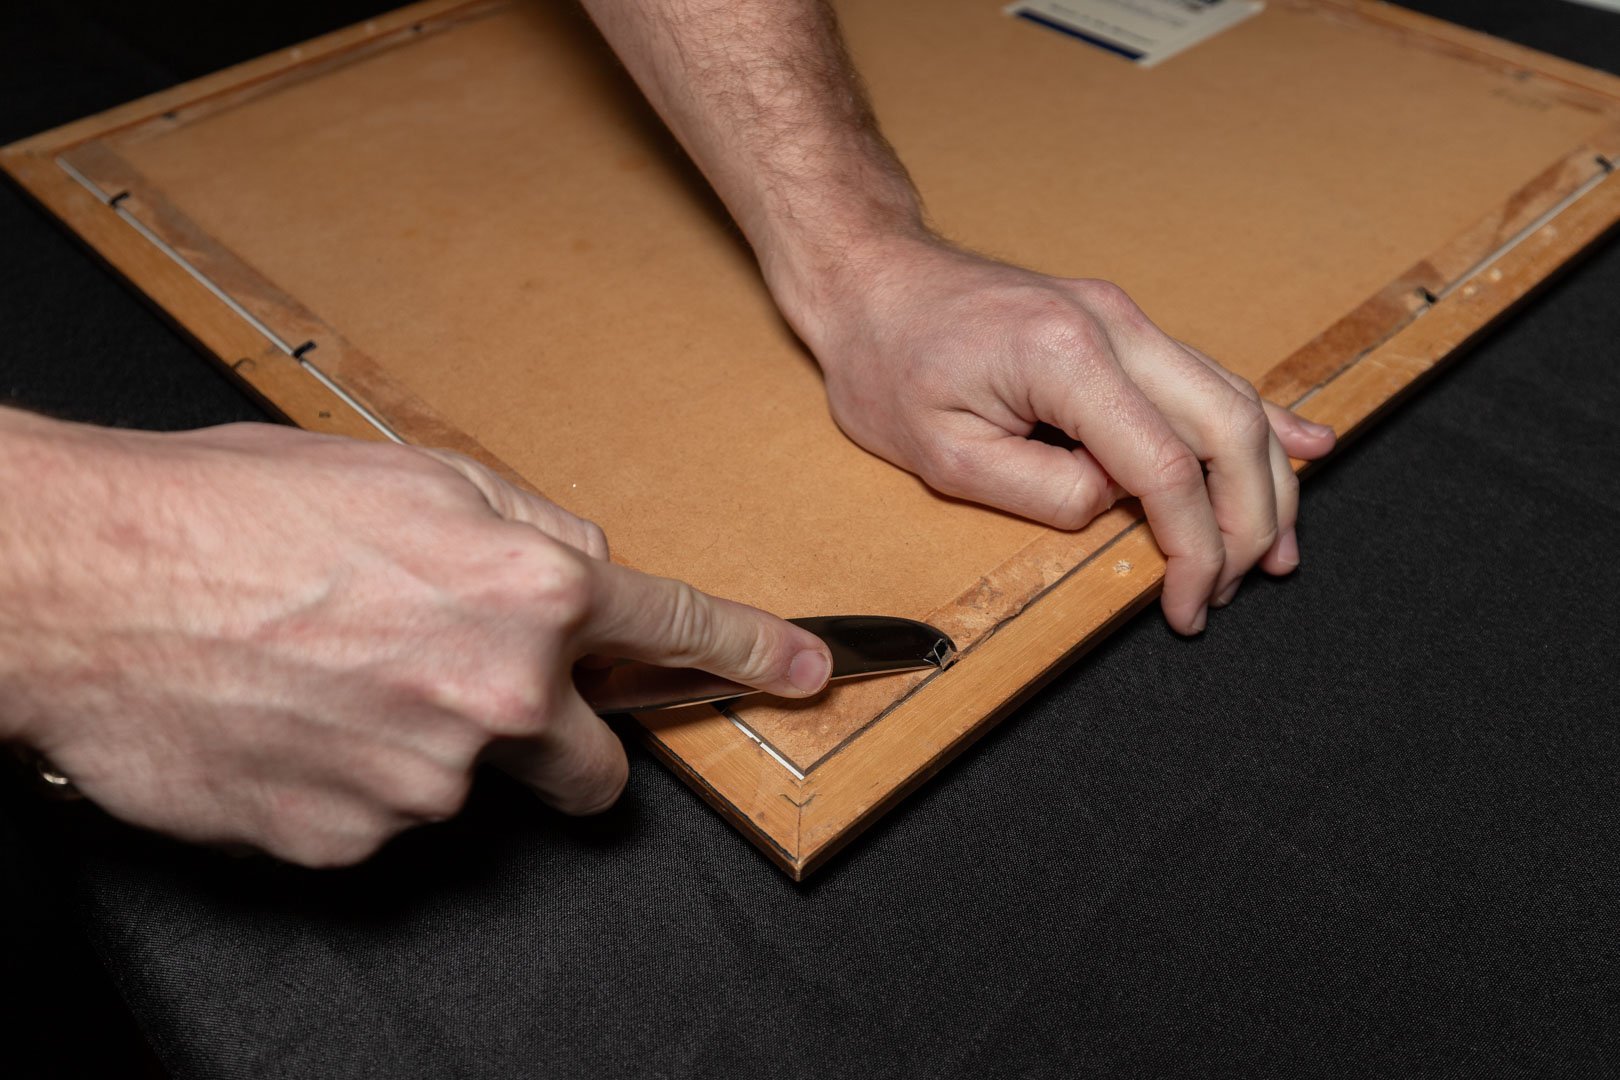
Take your butter knife and begin bending the flip tabs up and away from the backing.
Only bend the flip tabs until they are straight and out of the way, If you go too far you may snap them.
Step 4:
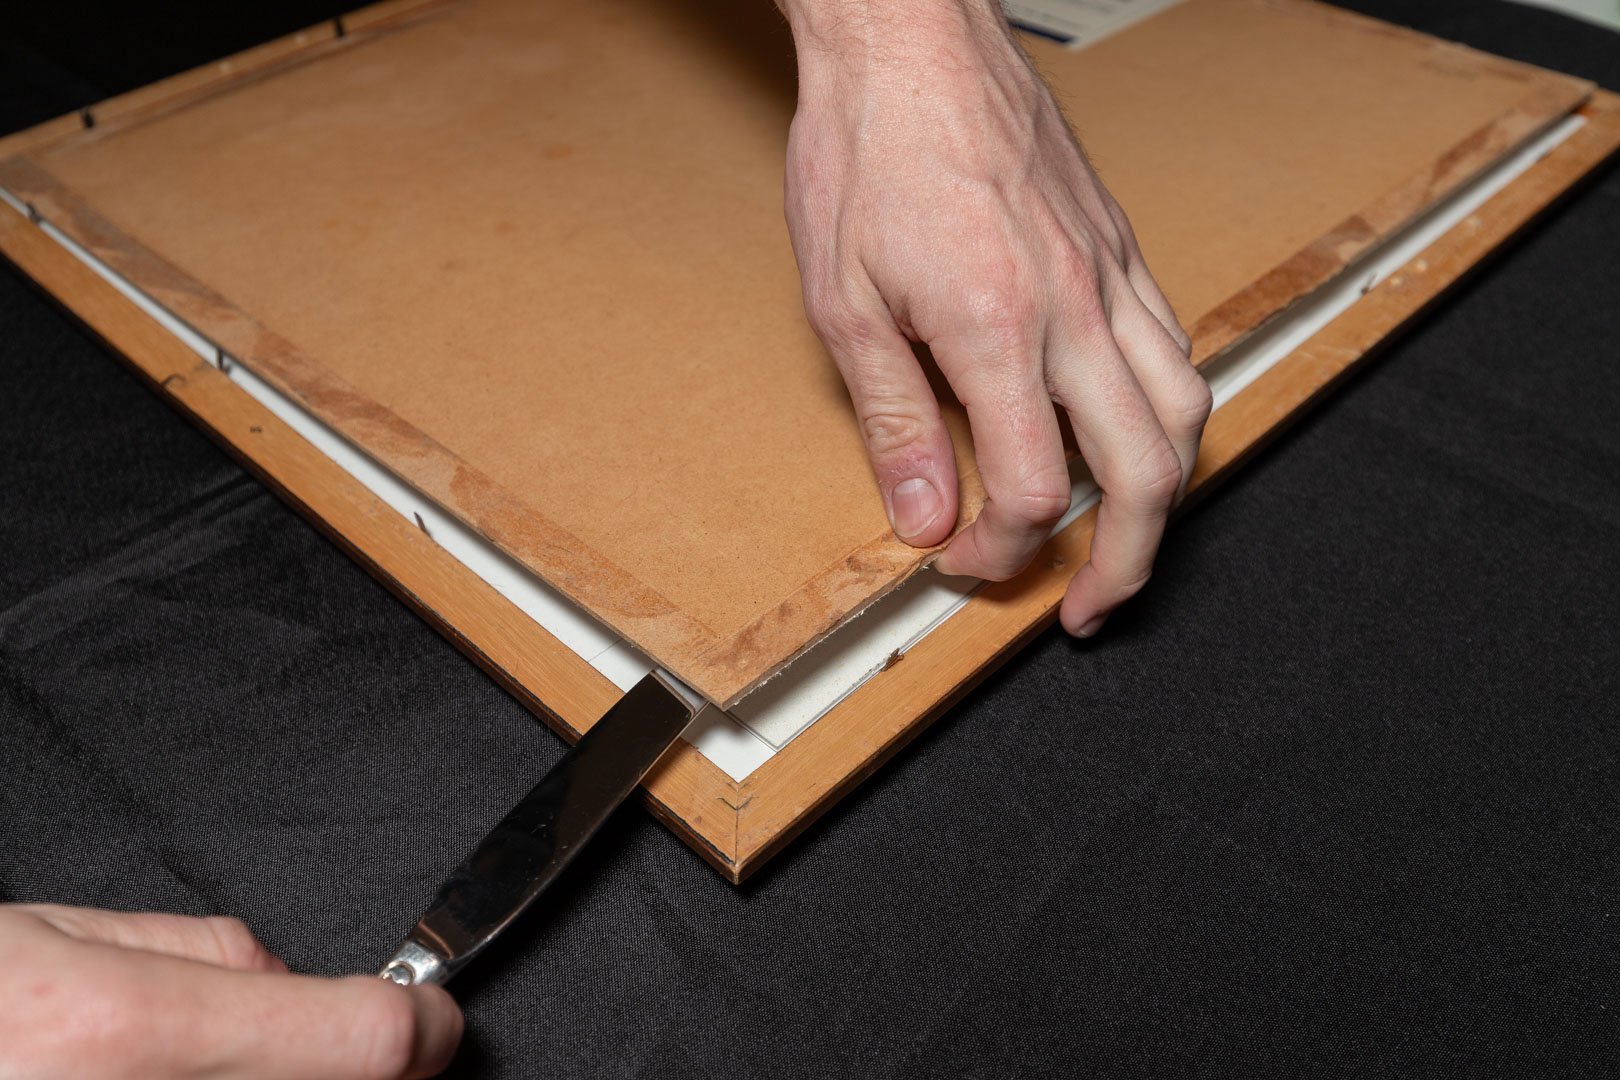
CAREFULLY remove the frame's backing from the frame. To do this either lift from the corner cut out in the MDF (if it has one) or take your butter knife, wedge it between the MDF and the side of the frame and pry up. DO NOT press the front of the glass to remove it. This has the potential to crack the glass as it touches the flip tabs.
Be gentle when doing this as there is the potential that you will damage the glass.
Step 5:
If your mat board is inside the frame take it out and cover the glass with the MDF/Backing again to prevent dust from settling on your glass. I am now going to walk you through the process of hinging a mat board! Review the images if you need them, this is a bit tricky at first.
Hinging Step 1:
Place your artwork face down on your working surface.
Hinging Step 2:
Cut a length of tape just a bit shorter than the top side of your image.
Hinging Step 3:
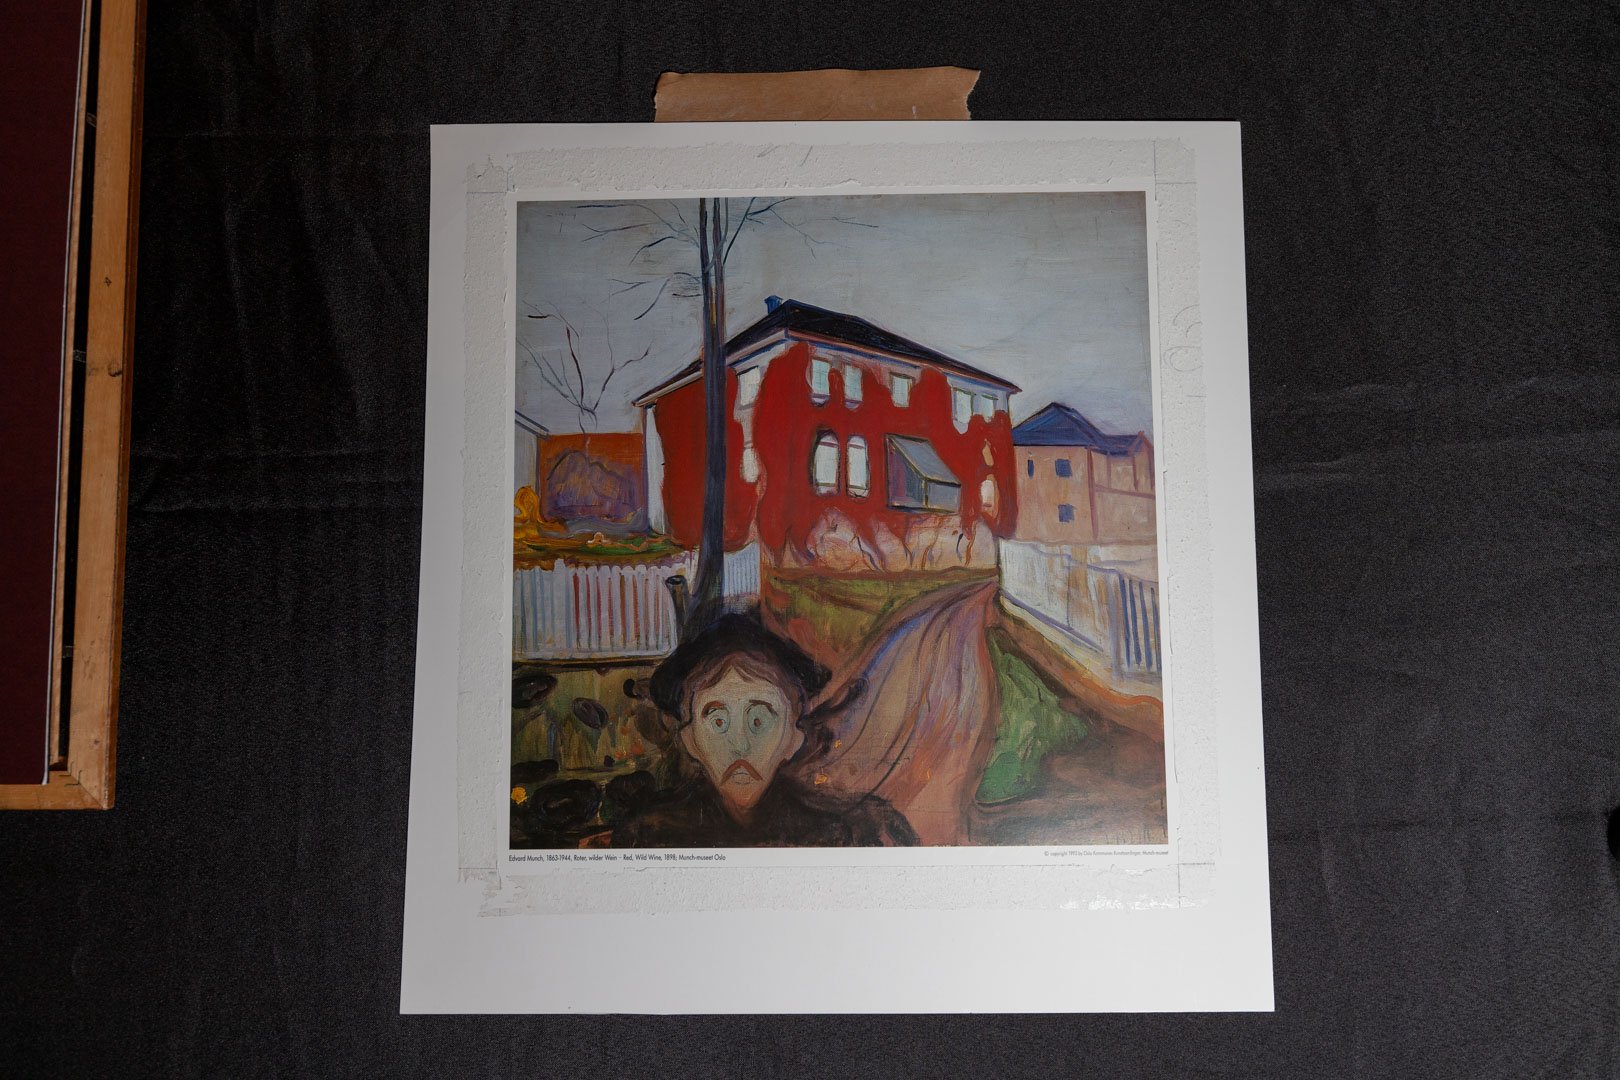
Place your tape on the top edge of your image, so that the tape is half on and half hanging off of your image.
The artwork has been placed face down and framers tape is being placed on the top edge of the artwork.
Hinging Step 4:
Flip your artwork. The sticky side of the tape should be facing toward you when you are looking at the artwork.
The artwork is facing up with the framers tape sticky side up
Hinging Step 5:
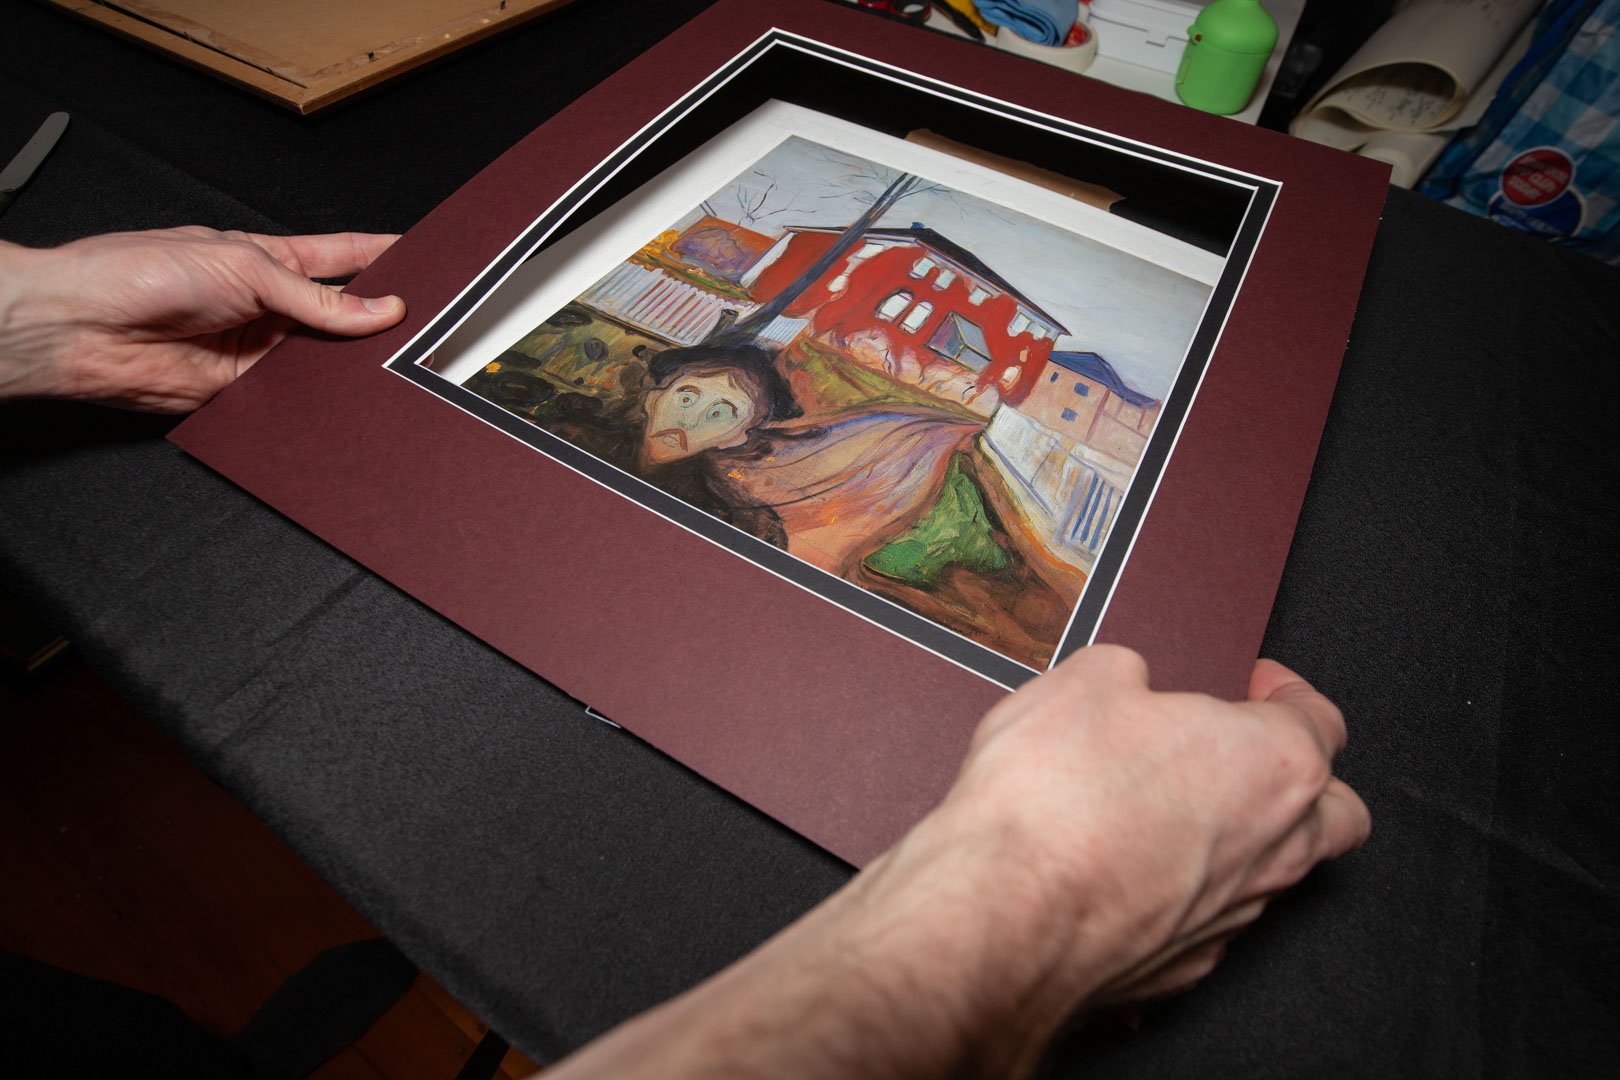
With your artwork lying face up on your working surface, take your mat board and line it up so that your artwork is positioned the way you want it. Lay the mat board down gently and press.
Line the mat board and artwork up carefully. It may take a few attempts.
Hinging Step 6:
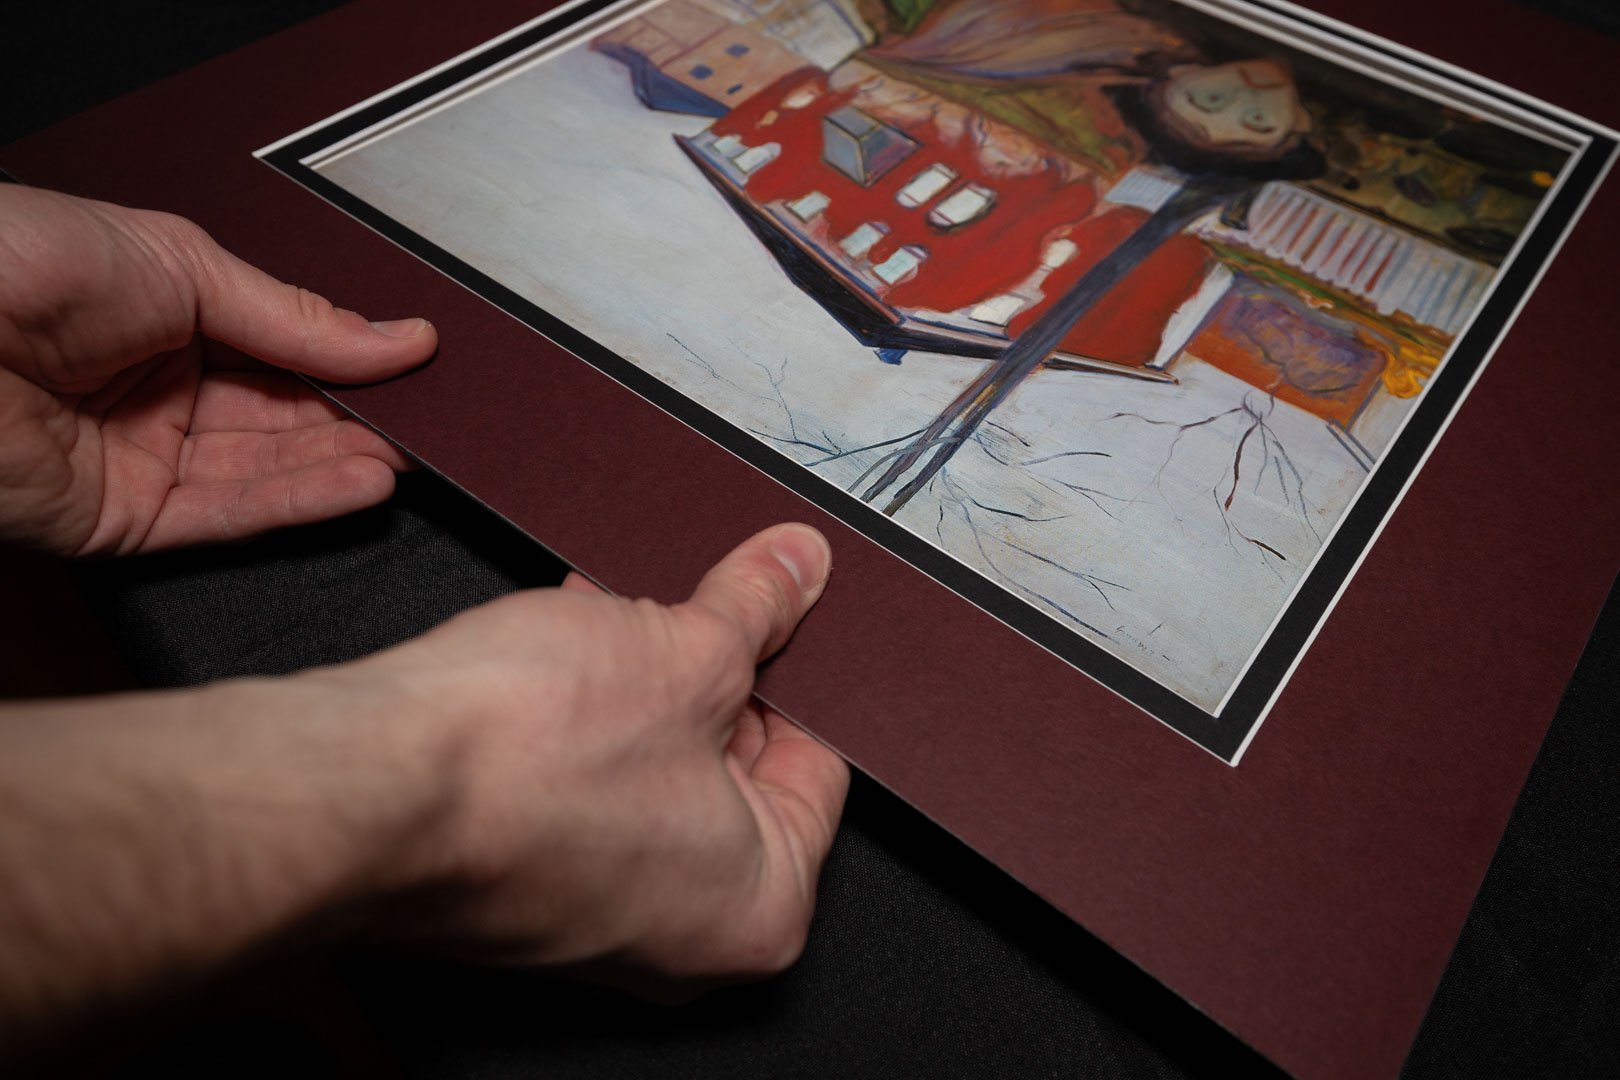
Spin the artwork around so the top is facing you, BE CAREFUL! The artwork is not fully attached yet.
Hinging Step 7:
Slide your fingers under the matboard and grab where the artwork and Matboard connect. Pinch this and slide sticking the artwork securely to the Matboard.
Pinch and slide your fingers along the tape
I like to slide my had along the piece to ensure it is really stuck down
You should now have successfully hinged your artwork! Good job, I’m so proud.
Step 6:
We can now fit the artwork and mat board. Remove whatever is covering your glass in the frame so that you can see the working surface underneath the frame through the glass.
Step 7:
Check your glass for any imperfections, marks, or dust. Before wiping anything make sure it’s on the inside and not the out. As soon as you start wiping the inside of your glass it becomes a whole thing. BE CAREFUL when cleaning the glass, if you’re too aggressive you could chip it and if you’re using any glass cleaning product please allow it to dry before adding your artwork.
Take it slow and get all the dust off, otherwise you will be opening it up again in a little while to really remove it.
Step 8:
Bang that artwork in! There has been a lot of prep and finally, we can see our artwork in the frame. It should fit nicely, it could be slightly small on the sides but once everything is together this will not be noticeable
Take care to avoid the flip tabs as they could potentially damage your mat board/artwork.
Step 9:
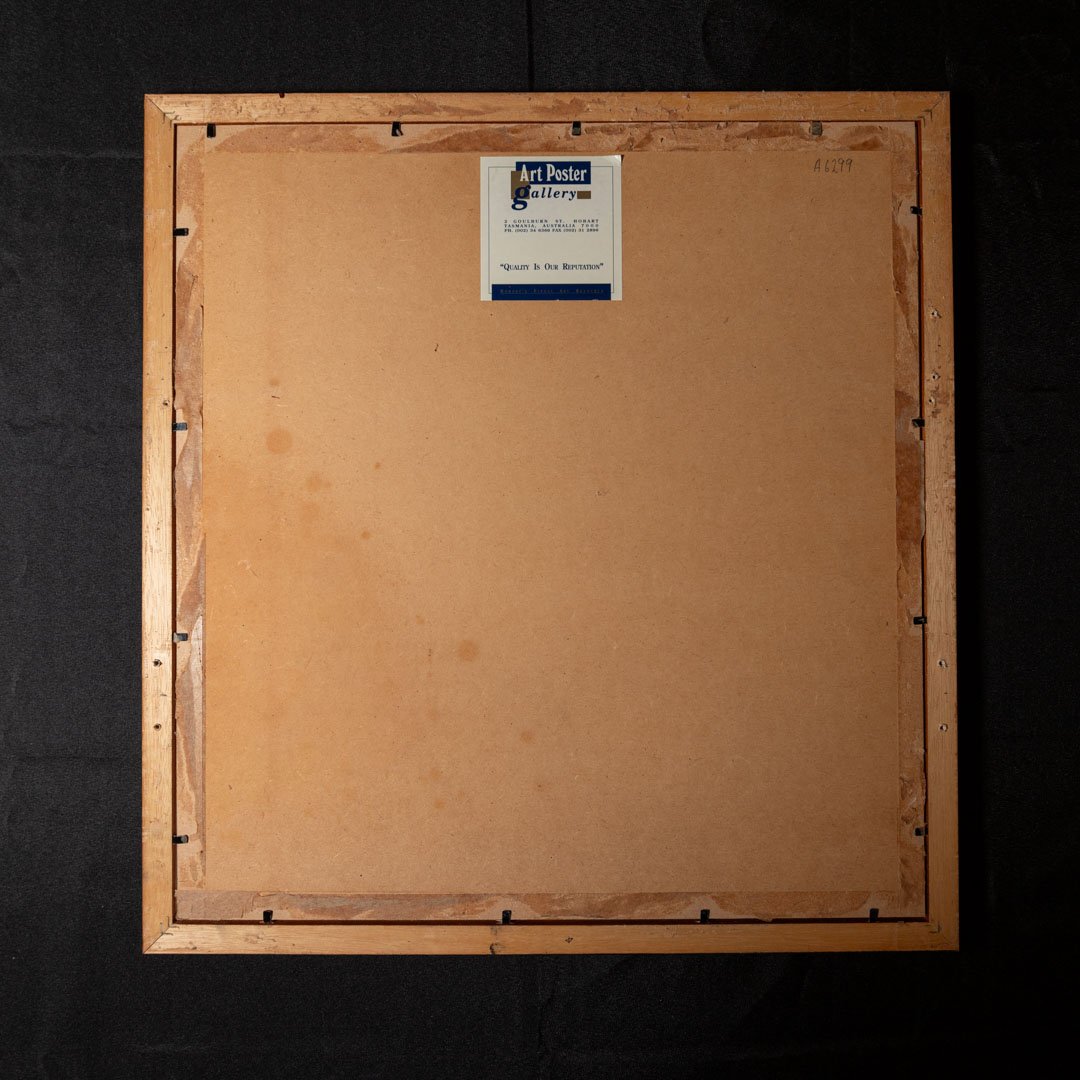
Pop the MDF back in behind your artwork, and bend back a few of the flip tabs, one on each side at least.
The back of your frame with the MDF exposed
Step 10:
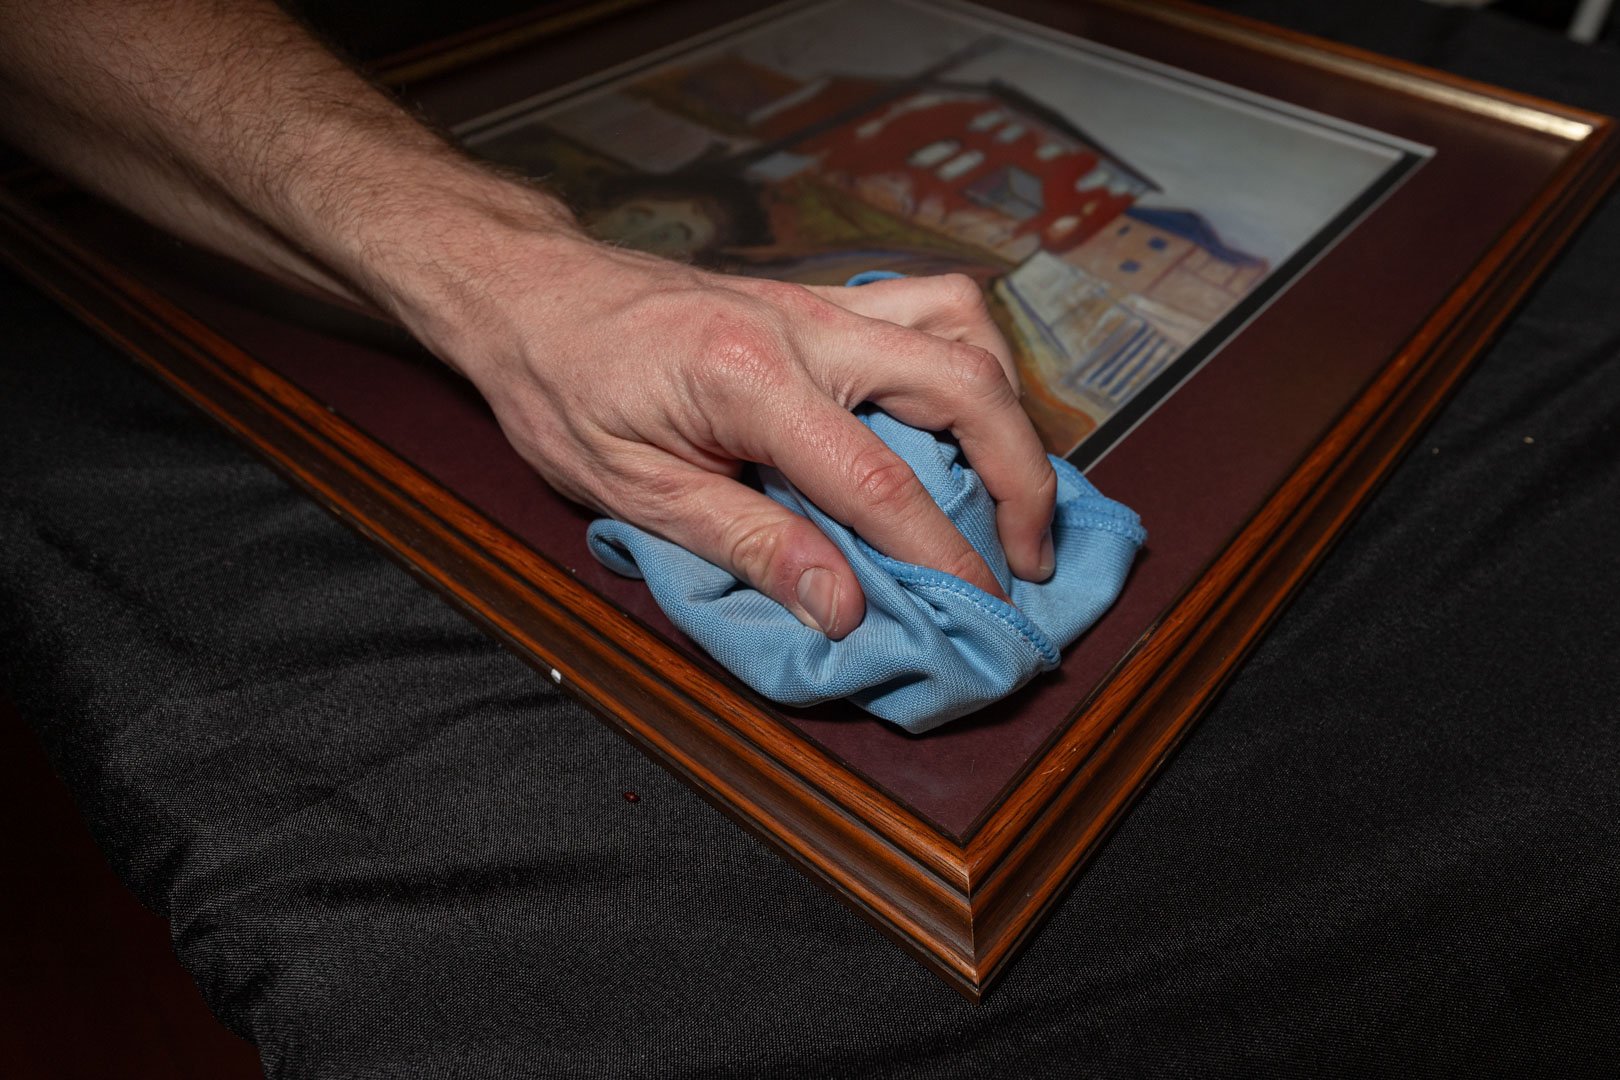
Flip the frame over and check it out! BE CAREFUL as the MDF is not fully secure. Take your cloth and give the glass a wipe.
If you see a dust spec, press your finger on it to see if it moves, if not, it is probably under the glass.
Step 11:
Check for smudges and dust under the glass. If you see something on the glass, give it a blow, if it does not move, it is under the glass. This is frustrating, and trust me, you cannot just live with this.
Step 12:
Flip it back over, remove the MDF and then repeat steps 6-11. You will get there!
Step 13:
All right so you’re happy with the framing and are ready to complete it! Bend all those flip tabs back into place and check to see if it is secure. You’ll know it's not if everything falls apart.
Here is my completed frame!
So you can be finished now if you wish, if the hanger was already installed stick it on the wall. If you would like to have a bit more of a professional finish, follow these steps.
Step 14:
Cut some craft paper to be significantly bigger than the size of the back of the frame.
As you can see, this does not have to be a perfect piece, We’ll tidy it up shortly
Step 15:
Line the entire outside of the frame on the back with double-sided tape. Do this on the inside edge of the frame, or close to the middle if it is a wide profile frame.
Make sure there is no overhang, it will make the sides of the frame look dirty.
Step 16:
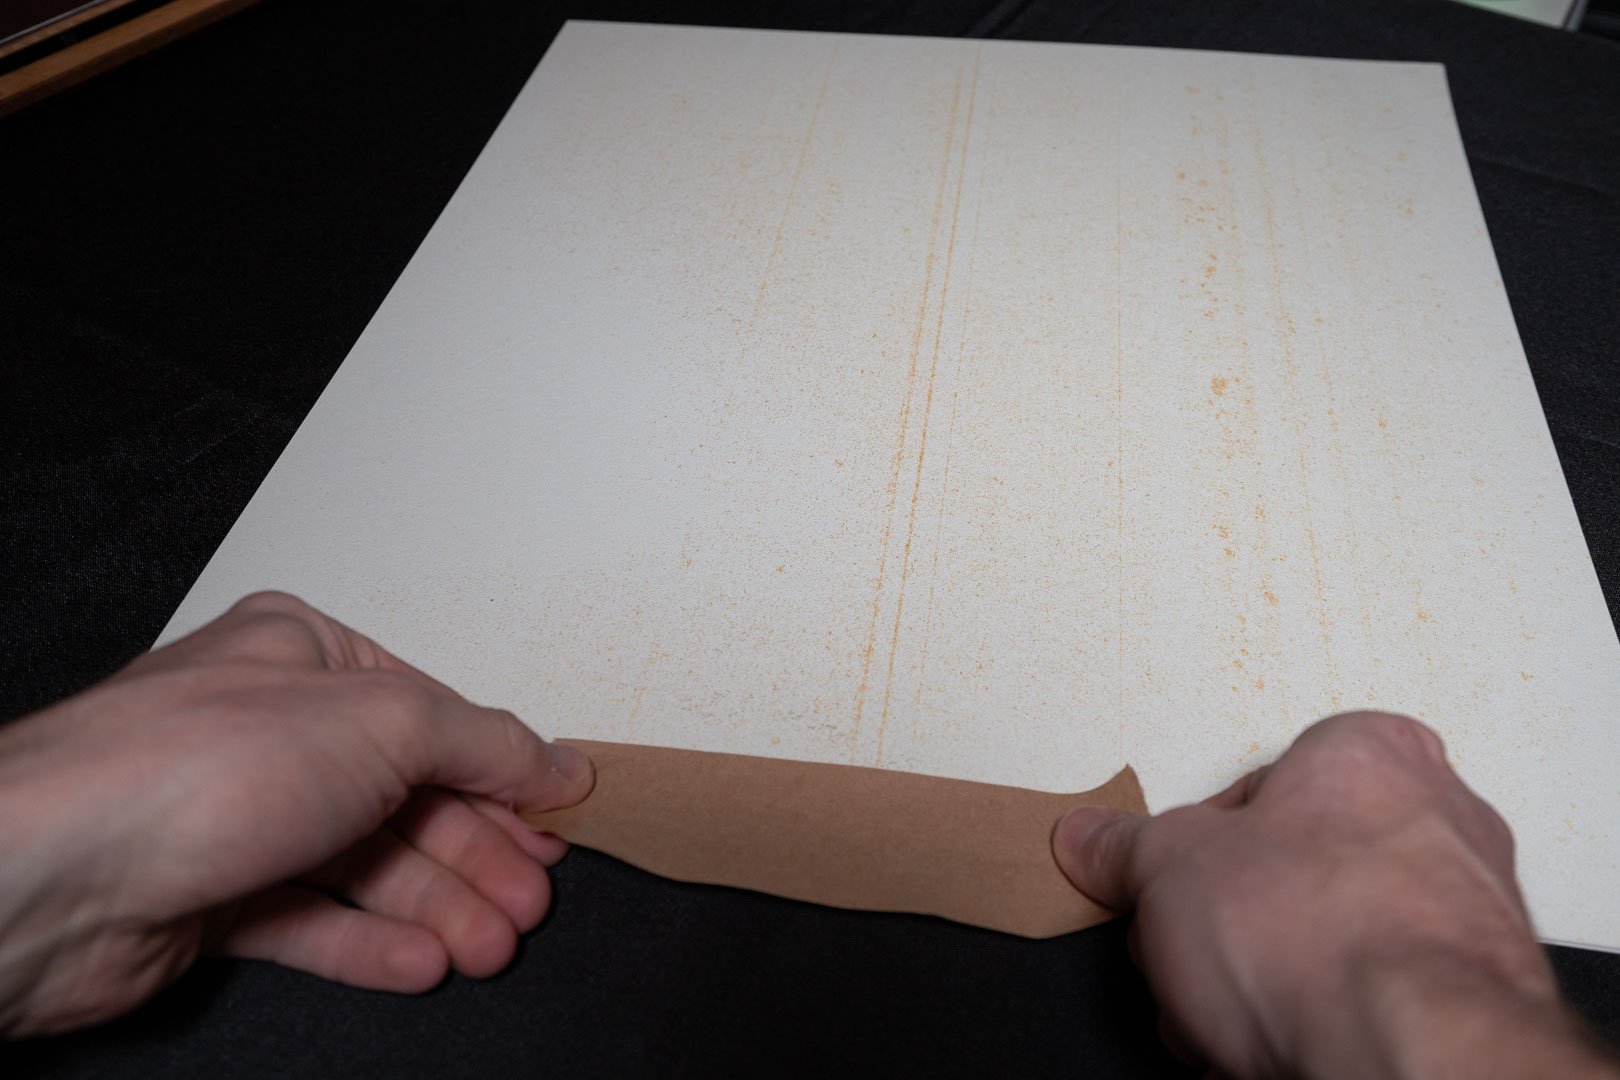
Peel back the double-sided tape’s backing.
Peel back the double-sided tape partly like the photo above, it helps make the application easier
Step 17:
Keeping the craft paper taut, place it over the top of the frame sticking it down evenly and then rest it down the length of the frame keeping it taut. The best way to do this is to peel back a piece of your double-sided tape at a time and stick the paper down in sections.
Be patient keeping he paper nice and straight.
Step 18:
Place the ruler on the very outside edge of the frame, keeping it as straight as possible, and run your Stanely knife lightly down the edge of the frame. Do this to each side of the frame removing the excess paper as you go.
Don’t push too hard or you’ll damage the frame, too soft though and the paper will not cut.
You now have a professionally finished frame! Excellent job. Now let's get the wire on.
Wiring Step 1:
Measure the length of the frame and punch this equation into a calculator
length of frame x 30% = Where to place wire
We place the wire in the top 3rd of the frame which is the ultimate hanging location. Mark this length on your frame in pencil.
Wiring Step 2:
Take your D-rings and screw them into each of these marks ensuring the ring is facing the inside of the frame and the plate holding the ring is as flush as possible with the frames edge.
In this photo I am using a 2 hole wire hanger. They’re better on heavier pieces, It is also the only hanger I had.
Wiring Step 3:
Take your wire and thread it according to the diagram through both D-rings.
Takes a bot of practice. (credit)
Wiring Step 4:
Finish off your wire by wrapping the excess around the main wire and pulling towards the D-ring. It should look like a tight coil. You can cut some excess if there is a lot.
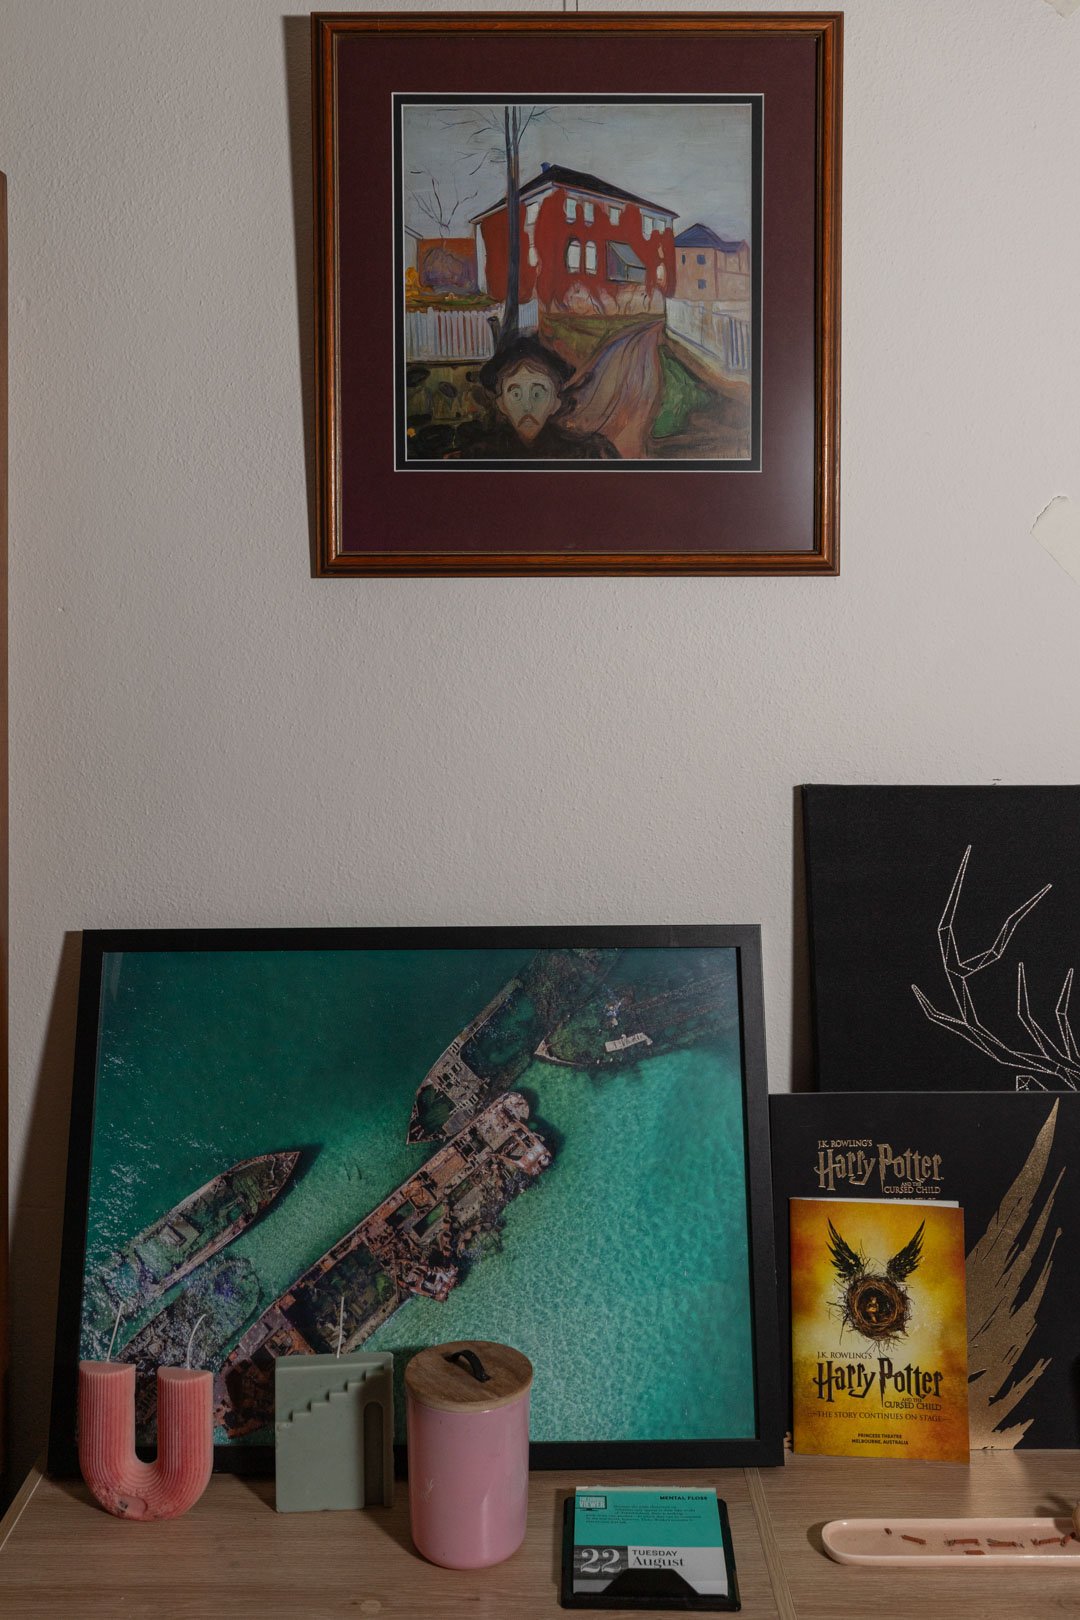
Now put that frame on your wall! We are done finally!
Framing can be a long and tedious process, but if you stick with it and practice patience you can easily get a professional look and quality framing done at home! If you do not really care about the piece, skip all the end parts, The backing paper is used to prevent dust from entering the frame, and the wire can be swapped out with stapled string or MDF Hooks.
If you have any questions send me an email or comment on this post. Check out my other 2 articles if you want to know more about The Importance of Framing and The Anatomy of a Frame. Be sure to check out the rest of my site and if you need some more artwork to practice your newfound framing skills, visit my store!
